Quick setup Raspberry Pi Zero W
From time to time I have a need quickly setup Raspbian on Raspberry Pi Zero W.
Here is the quick step by step guide:
In the local computer download an image and upload it to sd card: (replace /dev/sdX, username, wlanname, wlanpassword, 192.168.0.155 with your own values)
# download image
wget https://downloads.raspberrypi.org/raspios_lite_armhf/images/raspios_lite_armhf-2021-05-28/2021-05-07-raspios-buster-armhf-lite.zip

# extract
unzup 2021-05-07-raspios-buster-armhf-lite.zip

# copy to device
sudo dd if=2021-05-07-raspios-buster-armhf-lite.img of=/dev/sdX bs=2M conv=fsync

# activate ssh
touch /media/username/boot/ssh

# update the wifi access credentials
cat > /media/username/rootfs/etc/wpa_supplicant/wpa_supplicant.conf << EOF
ctrl_interface=DIR=/var/run/wpa_supplicant GROUP=netdev
update_config=1
country=DE
network={
        ssid="wlanname"
        psk="wlanpassword"
        key_mgmt=WPA-PSK
}
EOF

# setup static IP address
cat >> /media/username/rootfs/etc/dhcpcd.conf << EOF
interface wlan0
static ip_address=192.168.0.155/24
static routers=192.168.0.1
static domain_name_servers=192.168.0.1 8.8.8.8
EOF

# prevent warning locale not found
cat >> /media/username/rootfs/etc/environment << EOF
LC_ALL=C
LANG=en
LANGUAGE=en
EOF
Put sd card to device and turn it on.
If everzthing went successful then you will see the new device in the network.
Connect to device by ssh: pi@192.168.0.155, the default password: "raspberry".
# expand filesystem on SD card
sudo raspi-config --expand-rootfs

# reboot
sudo reboot now

# after reboot login again and
# upgrade the system
sudo apt-get update
sudo apt-get upgrade -y
After all steps above you will have a device with Linux to play with.
It is very important to use good card reader. I wasted lots of time before I discovered that my internal card reader does not write sd card well. It reads ok, but when I try to write or format sd cards on it the previously written information appears unchanged. After swithing to exteranal card reader all problems were gone.
The more information you can find on the original Raspberry Pi OS documentation.
New device to play with Asterisk
I have created a new device for experimenting with Asterisk. For some reason, the firmware made by the author of raspberry-asterisk hangs at random times. Sometimes it works for several days, sometimes it freezes after a few minutes. At first, I sinned on the raspberry itself, then on the SD card, then on the power supply. However, the device freezes stably.
Yes, I know that it is impossible to assemble a stable working device with an asterisk on a ten dollar board that will fully fulfill the functions of an "adult" ATC. I know that for something more serious you need more serious equipment. But I still want to know how to do it!
Having adjusted the memory and temperature monitor of the device, I noticed that the device does not consume a lot of memory and does not go into CPU throttling, but, nevertheless, the processor temperature is slightly higher than on a similar device without an asterisk.
I decided that it was all about the firmware itself, because even the author of rasbnerry-asterisk no longer supports Raspberry Pi Zero in new images.
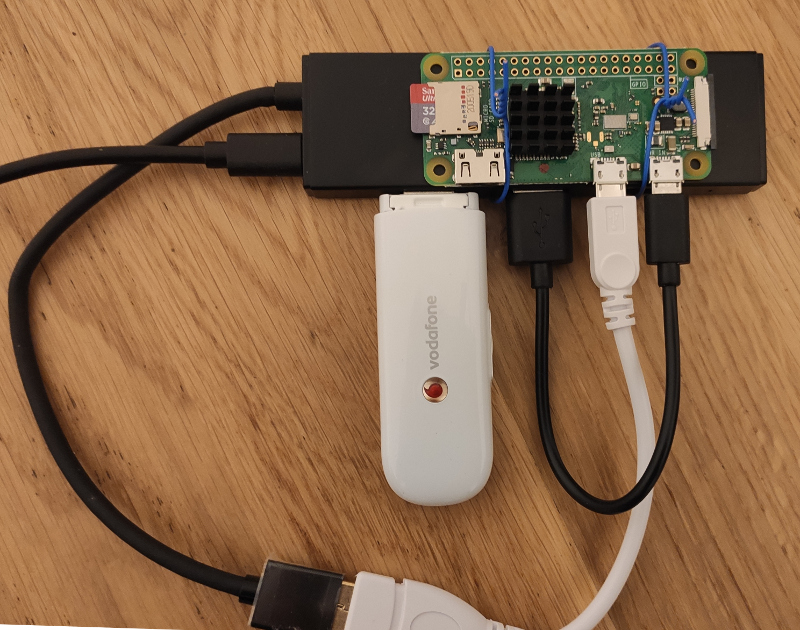
Therefore, I decided to install Asterisk on Debian from scratch, fortunately, the are already many instructions in the net how to do it. In order to do it I ordered a new board and a USB hub. The board was powered from the same hub which is goos - not all devices allow that but this one worked as expected. The USB stick was also successfully discovered by the device as well.
Compilation of the asterisk took several hours, but everything worked as it should and in the end I got a completely working system.
So far the device works stably - let's see how long it will work in this incarnation.
P.S. Works stable not reboots, no freezing, so the problem was in original firmware. Looks very promising.